Taking Good Care of Your Tools: Cleaning and Inspecting Your Tools
Published by Priscilla on 15th Dec 2014
Cleaning and Inspecting Your Tools
To keep your tools in top shape, cleaning your tools after each use is a must. One advantage to regular cleaning is that it doesn’t take long; you only need a few seconds to clean off most tools. In the end, taking care of your tools by cleaning them will save you the time and money spent on repairs and replacements later. If you can get into the habit of cleaning your tools before you put them away after you are done using them, the process becomes easier and less inconvenient.
Cleaning Your Tools
Garden and Hand Tools
|
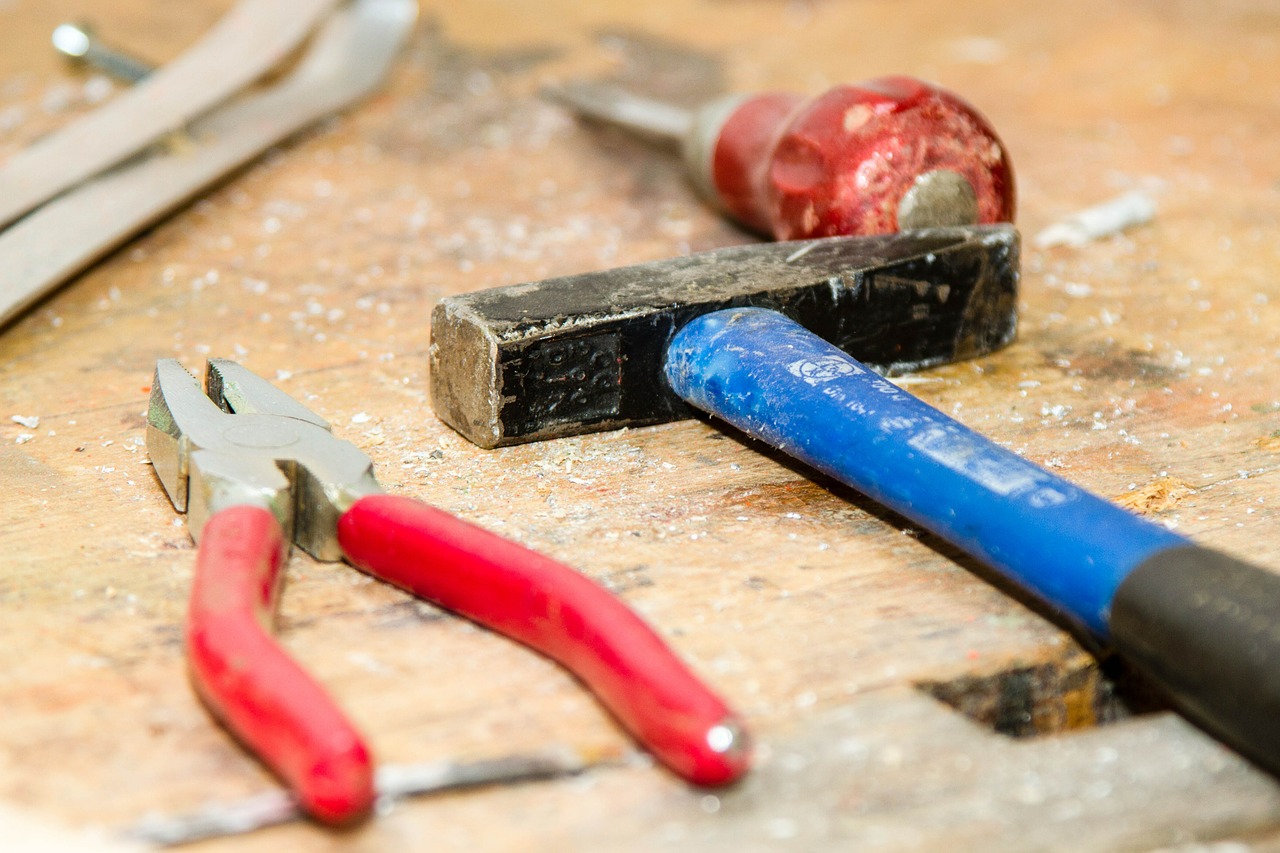
For garden and hand tools, all you really need to do is wipe them down with a rag, making sure that they are free of dust, grease and debris. This is also a good time to look for damage. Keep an eye out for broken, cracked or splintered tool handles and corroded or rusted metal parts. If you catch damage as it happens you can get your tools repaired more quickly and won’t have to postpone a project because you pull out a tool to use and find out that it is broken. Sometimes repairing minor damage as it happens will even help avoid more extensive and therefore more expensive repairs. |
|
|
But sometimes your tools might be so dirty that a simple wipe-down just won’t take care of it. In this case, give your tools a good wash with soap and water. You just need to make sure you dry them off afterwards, especially the metal parts. Drying your tools carefully will help avoid rust and corrosion. After your tools are clean, oil them with an all-purpose oil like WD-40 to keep their moving and adjustable parts lubricated. Avoid corrosion and rust by lightly spraying metal tool parts with oil. But try to avoid getting oil on the tool handles. Wipe away any excess oil with a rag before you store your tools, the oil should form a thin coat over the metal. Care for your tools’ wooden handles by wiping them with a rag dampened with a little linseed oil. |
Tip for Cleaning Gardening Tools A quick and easy way to clean and oil your garden tools is to keep a bucket of sand mixed with a bit of oil. Just stab the tools into the bucket a few times after you are done using them. They will be cleaned and oiled at the same time. Make sure you use linseed oil instead of motor oil; even a little bit left on your tools is bad for your garden. |
Power Tools
Power tools are a little trickier to clean than hand tools. First, you should always make sure the tool is unplugged before you clean it. |
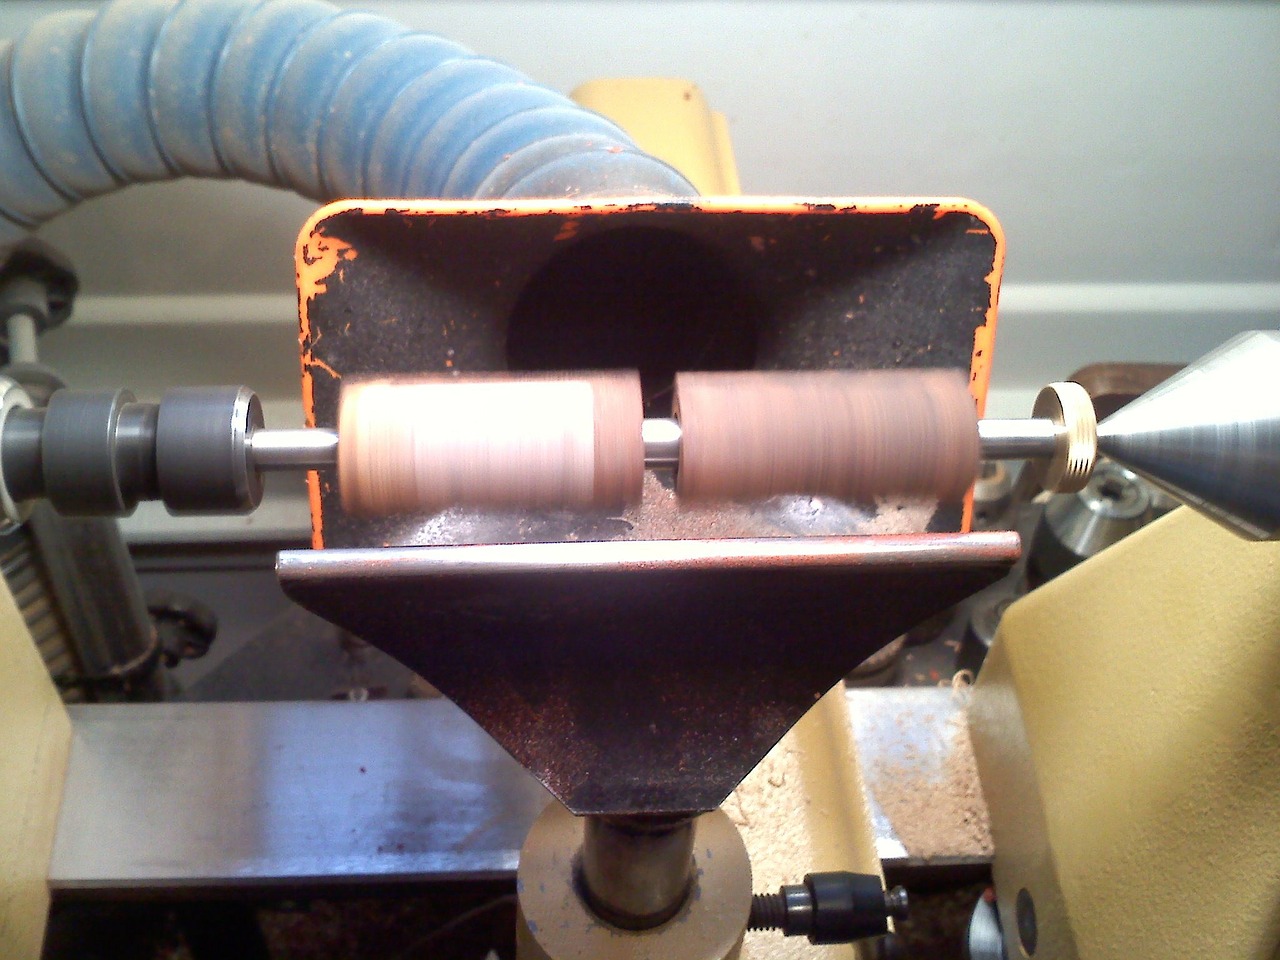
Next, you’ll want to get all the dust off. An air compressor can be really useful for that, especially for getting dust out of the interior of the machine. Wipe down the surface of the tool and then lubricate any moving parts. Machine oil is usually a good choice for power tools, but you should check your tool’s manual to see if they have any recommendations. A simple wipe-down with a rag will work for a regular after-use cleaning. But you will still need to deep clean your tools periodically using a damp cloth. And lightly oiled cotton swabs or other slender tools are useful for cleaning areas like exhausts and intakes. If your tool uses a filter, you should also check your filter periodically and replace it as specified by the manufacturer’s instructions. |
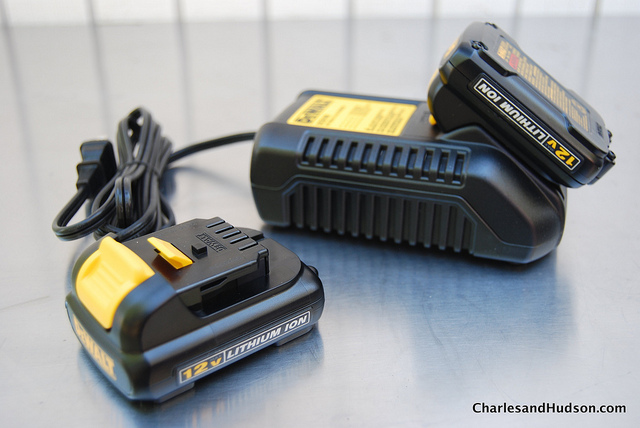
BatteriesA lot of people use cordless, battery-powered tools. They are convenient, portable and easy to use. But if you want to keep them running efficiently and effectively, you have to maintain their batteries. Your tools’ batteries will work best when you full charge and then fully discharge their power once every couple of weeks. You shouldn’t let your batteries sit unused for extended periods of time. Care for your batteries by cleaning the metal contacts with cotton swabs and alcohol. Store any batteries you won’t be using for a while in a dry, clean place away from excessive heat. |
|
Tool Inspection and Repair
Now you are ready to take good care of your tools by cleaning and storing them, we’ve provided a helpful checklist of things to look for when you inspect your tools as you clean them.
Hand and Garden Tools
- Tools like chisels and wedges are vulnerable to mushroomed heads. A mushroomed head is exactly what it sounds like. The striking edge of the tool is no longer sharp and has become malformed through use. The tool head can shatter on impact if you use a tool in this condition.
- Keeping your hand tools sharpened will solve the problem of mushroomed heads. You should sharpen them whenever you notice a problem, but you should also plan to regularly sharpen them every six months or so.
- Bladed garden tools, such as shovel and pruners should be sharpened once per season. You can use files to sharpen digging tools and to sharpen nicked or dull cutting tools. Use a coarse file to hone the working edge of digging tools to a 45-degree bevel.
- Use a medium grit sharpening stone to maintain the sharp edge of all cutting tools. Wet the stone with water or lubricate it with oil to speed up the sharpening, depending on the type of stone you have.
For Power Tools:
- Brush, vacuum, or wipe off dust; the same goes for battery chargers. - Inspect power cords for nicks; watch for and replace cords with frayed jackets or exposed wires. Some electrical tape might take care of a small problem temporarily, but it's best to have the tool repaired before using it.
- Check the cord for bent or loose prongs. If there
are any, repair or replace them.
- Make sure all moving parts are working smoothly.
- Tighten any loose screws or bolts; a drop of Loctite on the threads of screws
or bolts will help keep them in place.
- For circular saws, test the blade brake; it should stop the blade when you
let go of the trigger.
- Trouble starting your power tool. If your tool needs a couple of tries to get going or a little "push" to get the blade spinning, don't use it. Clean it and lubricate it; if that doesn't solve the problem, get it repaired.
Tool Handles
- Watch out for loose, cracked, or splintered handles. Avoid using them because they can break during use, resulting in an injury.
- If a handle is not too badly splintered, just sanding it down will fix the problem. If it’s really rough, sand against the grain before sanding with the grain. After your are done it should be smooth enough that you can run your hand along it without feeling any chips or splinters. Finish it off with a coating of linseed oil.
- Replace or repair any cracked or heavily splintered handles.
- To repair a cracked wooden handle, you can glue it back together with wood glue. This is easier if you can take the tool off the handle. Make sure you still sand the handle if it is splintered.
- If your handle is cracked all the way through, separate the two pieces and clean them off with a toothbrush. Don’t sand them. Lightly brush a coat of glue on both faces and into any cracks or fissures. Then clamp the pieces together securely. If it’s a lengthwise split, you could even use rubber bands. Wipe off any extra glue with a damp rag. Follow the instructions for the glue you use.
At least once a year...
- Check the motor housings on your power tools for cracks. Don't
use any power tool with cracks larger than a hairline.
- Lubricate your tools parts where metal rubs on metal.
- Check the shoe plates for nicks on your jigsaws and circular saws, and file
them smooth.
- Use Vise-Grips to flatten bent shoes. You can use a square to ensure that the
shoe is perpendicular to the blade.
- Make sure you read each tool manual and follow any instructions for specific
maintenance procedures.
Don’t forget to take care of your tools’ accessories either. Toolboxes, belts, and bags will need some care as well. Clean out your toolboxes by emptying them and wiping them down. Periodically condition your leather belts and bags. For bags and belts not made of leather, a quick wash should work just fine.
Battery and Charger - Image by Charles & Hudson https://www.flickr.com/photos/charles_hudson/ See more at: https://creativecommons.org/licenses/by-nc-sa/2.0/legalcode
Other Images from Pixabay


